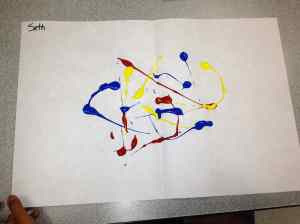
 This is one of my favorite Kindergarten lessons, based on the famous Rorschach Ink Blot Test. The process of making these prints seems almost magical to a five year old who’s doing this for the first time. It combines colorful paint with the element of surprise and plenty of imagination… what’s not to love about that?!
I begin by reading the book, It Looked Like Spilt Milk by Charles G. Shaw. Then we talk about clouds we’ve seen that look like other things, to get our imaginations warmed up for this creative project!
The materials are simple:
- 12 x 18 white construction paper
- Red, yellow and blue tempera paint
- Black tempera paint in a small paper cup, watered down a bit so it flows smoothly
- Skinny paint brush (we use a #2)
- Pre-fold your paper, then open it back up and squirt a little red, yellow and blue paint onto it. Be careful not to use too much paint or it will come out the edges when the paper is folded again! (In large classes I have an adult do this step!)
- Now, re-fold your paper and smoosh the paint around. The primary colors will mix and blend, making new secondary colors.
- Open your paper to “unveil” your new symmetrical creation! Turn your paper different directions until you “see” something in the design.
- Finally, add details with black paint and a skinny brush, to help others see what you see!


You can also do this lesson in two parts. After your paint dries, you can cut out your design and glue it onto a larger paper, if you want. Then use markers to add your details.
My students love watching me demonstrate this process and “voting” on what I should turn my picture into. Some of the examples below were created by my students and a few are from my demos, just for fun!


[…] Experiment with Rorsharch prints/mirror image […]