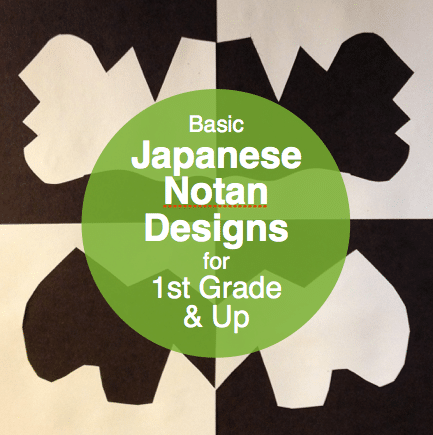
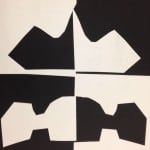
Are you looking for an easy project that will give your youngest students more practice with scissors? This very basic JapaneseNotan lesson is perfect for working on cutting and gluing skills, and kids will love the striking designs they create! Notan is a type of Japanese art that uses the contrast of light and dark to make an eye-catching composition. (Pronounce it just like it looks: ‘no-tan’.)
You will need:
1 piece of 9” x 9” black paper
2 pieces of 4-1/2” x 4-1/2” white paper
scissors
glue stick
3 Helpful Scissor Tips!
Keep your scissors pointing away from you.
Keep your elbow tucked in against your side.
Turn the paper with your hand that’s holding it, instead of turning your scissors.
Directions:
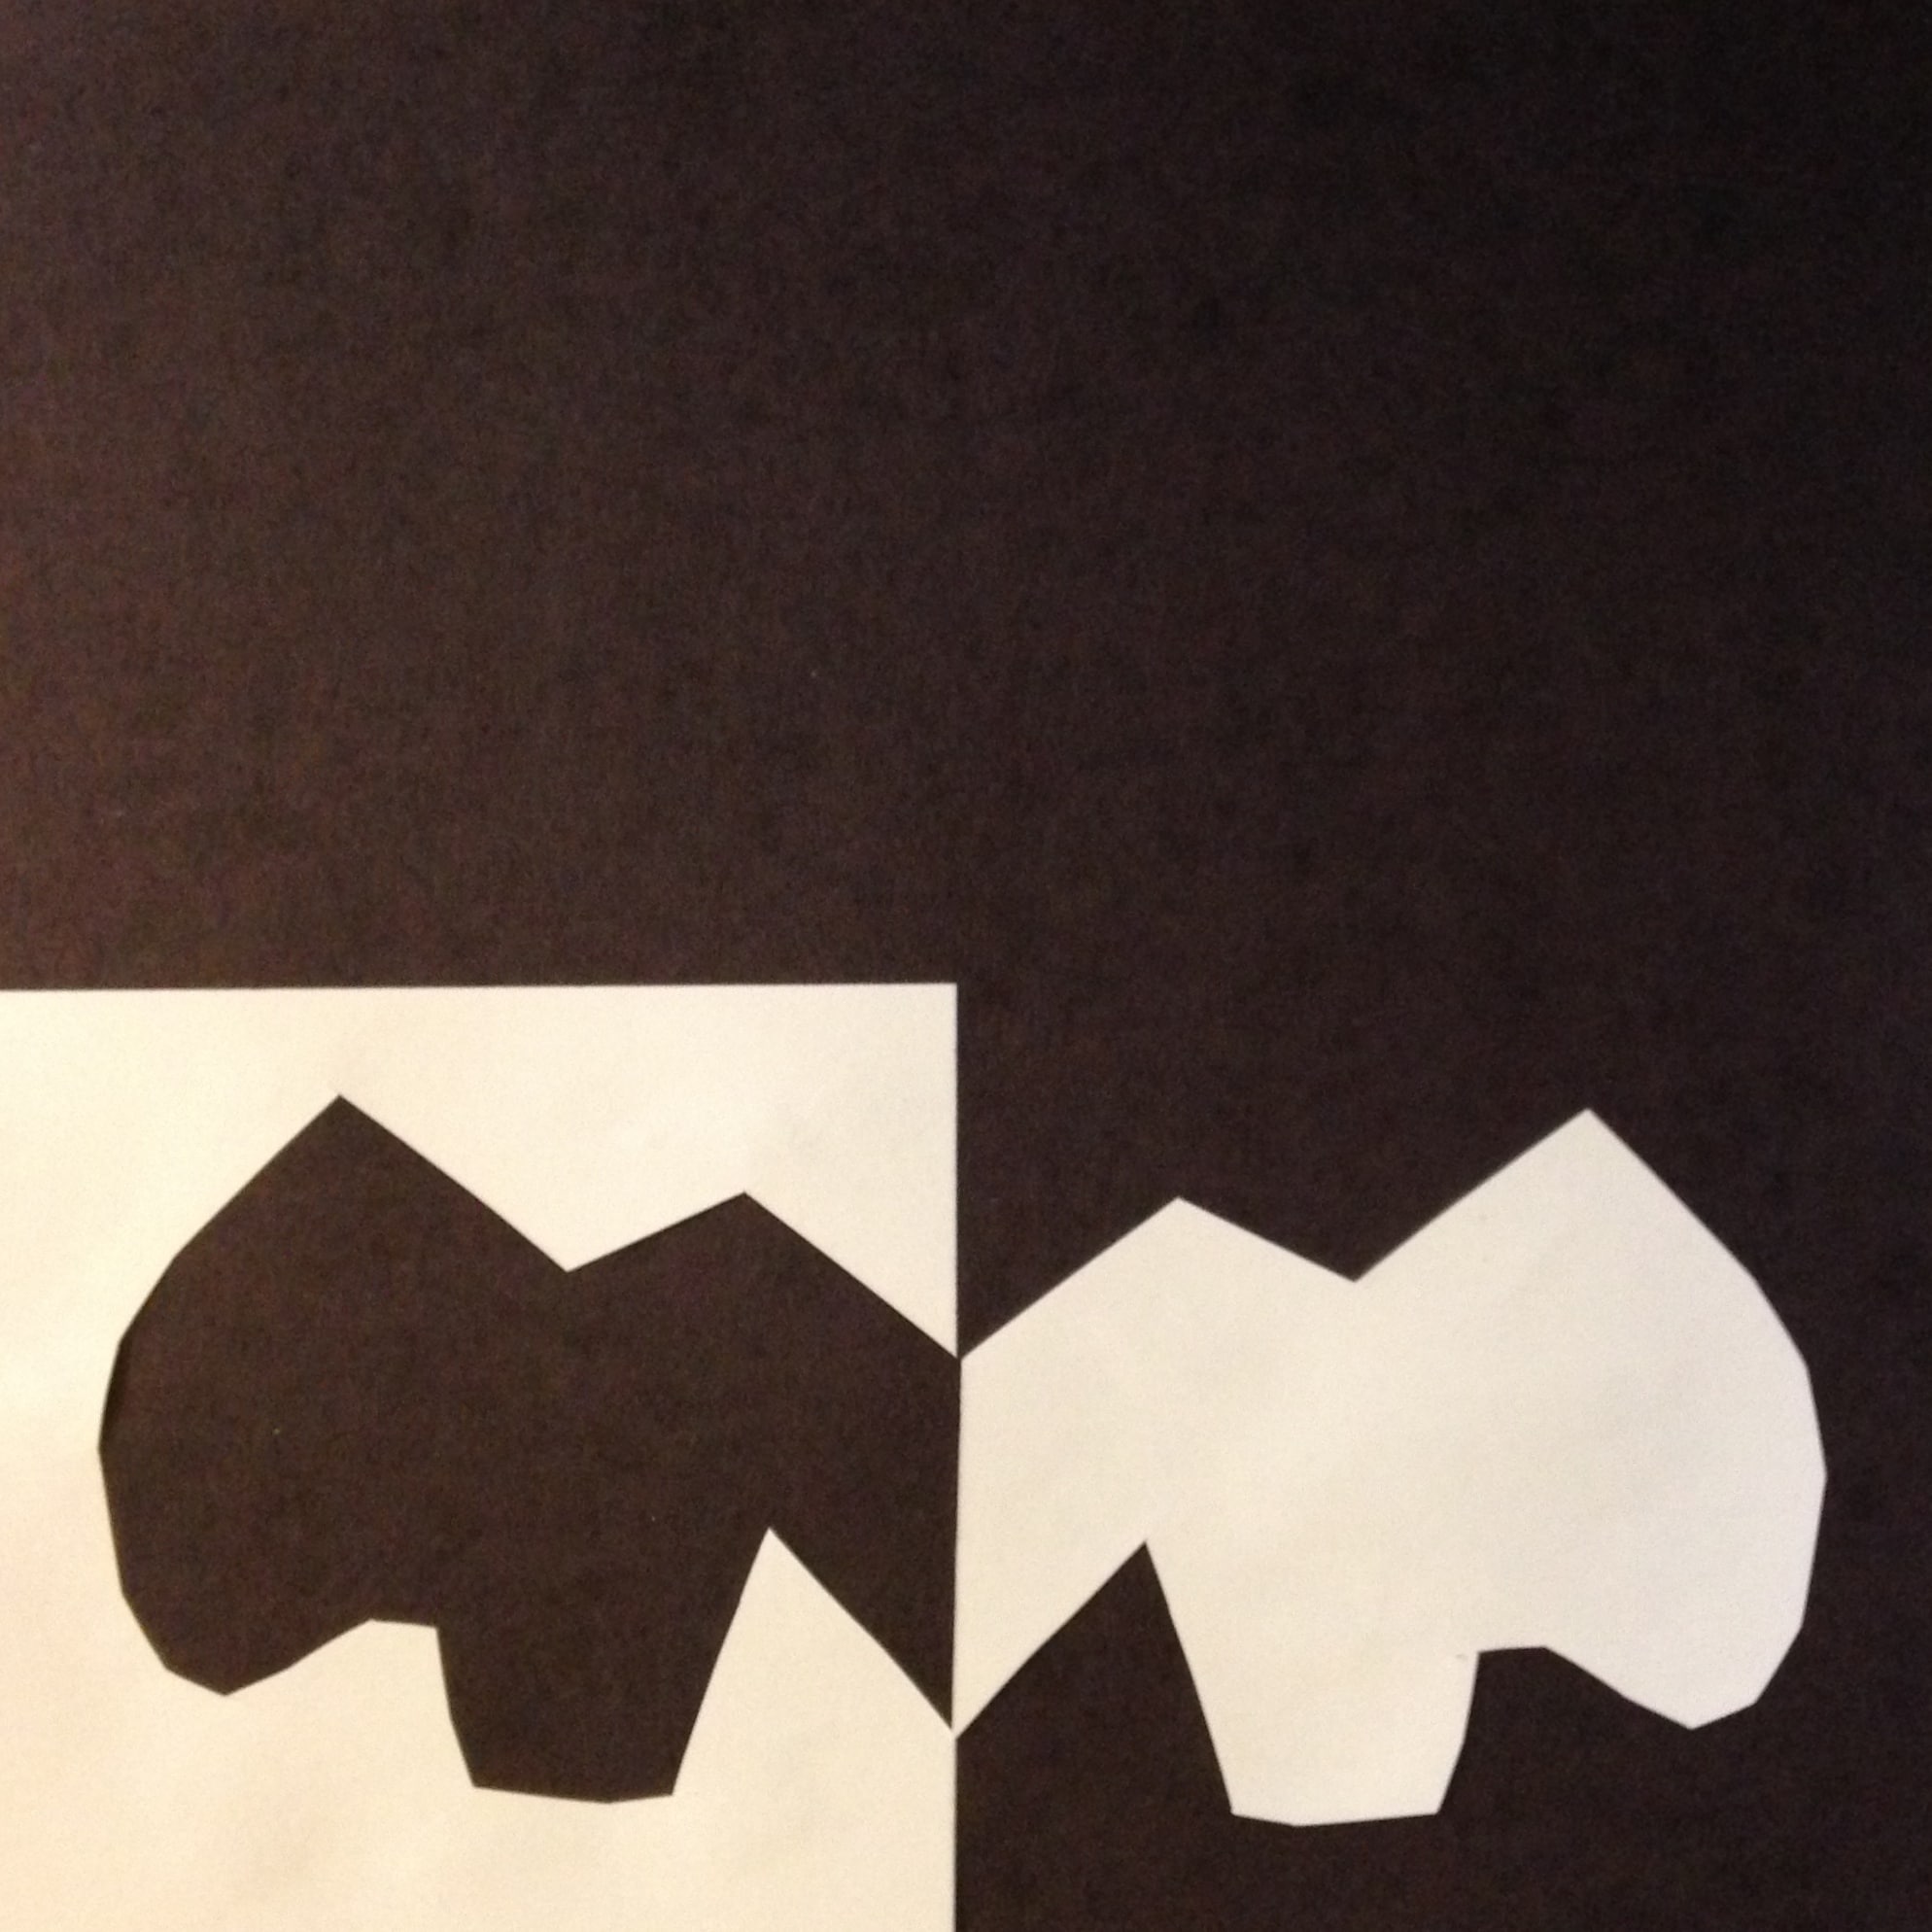
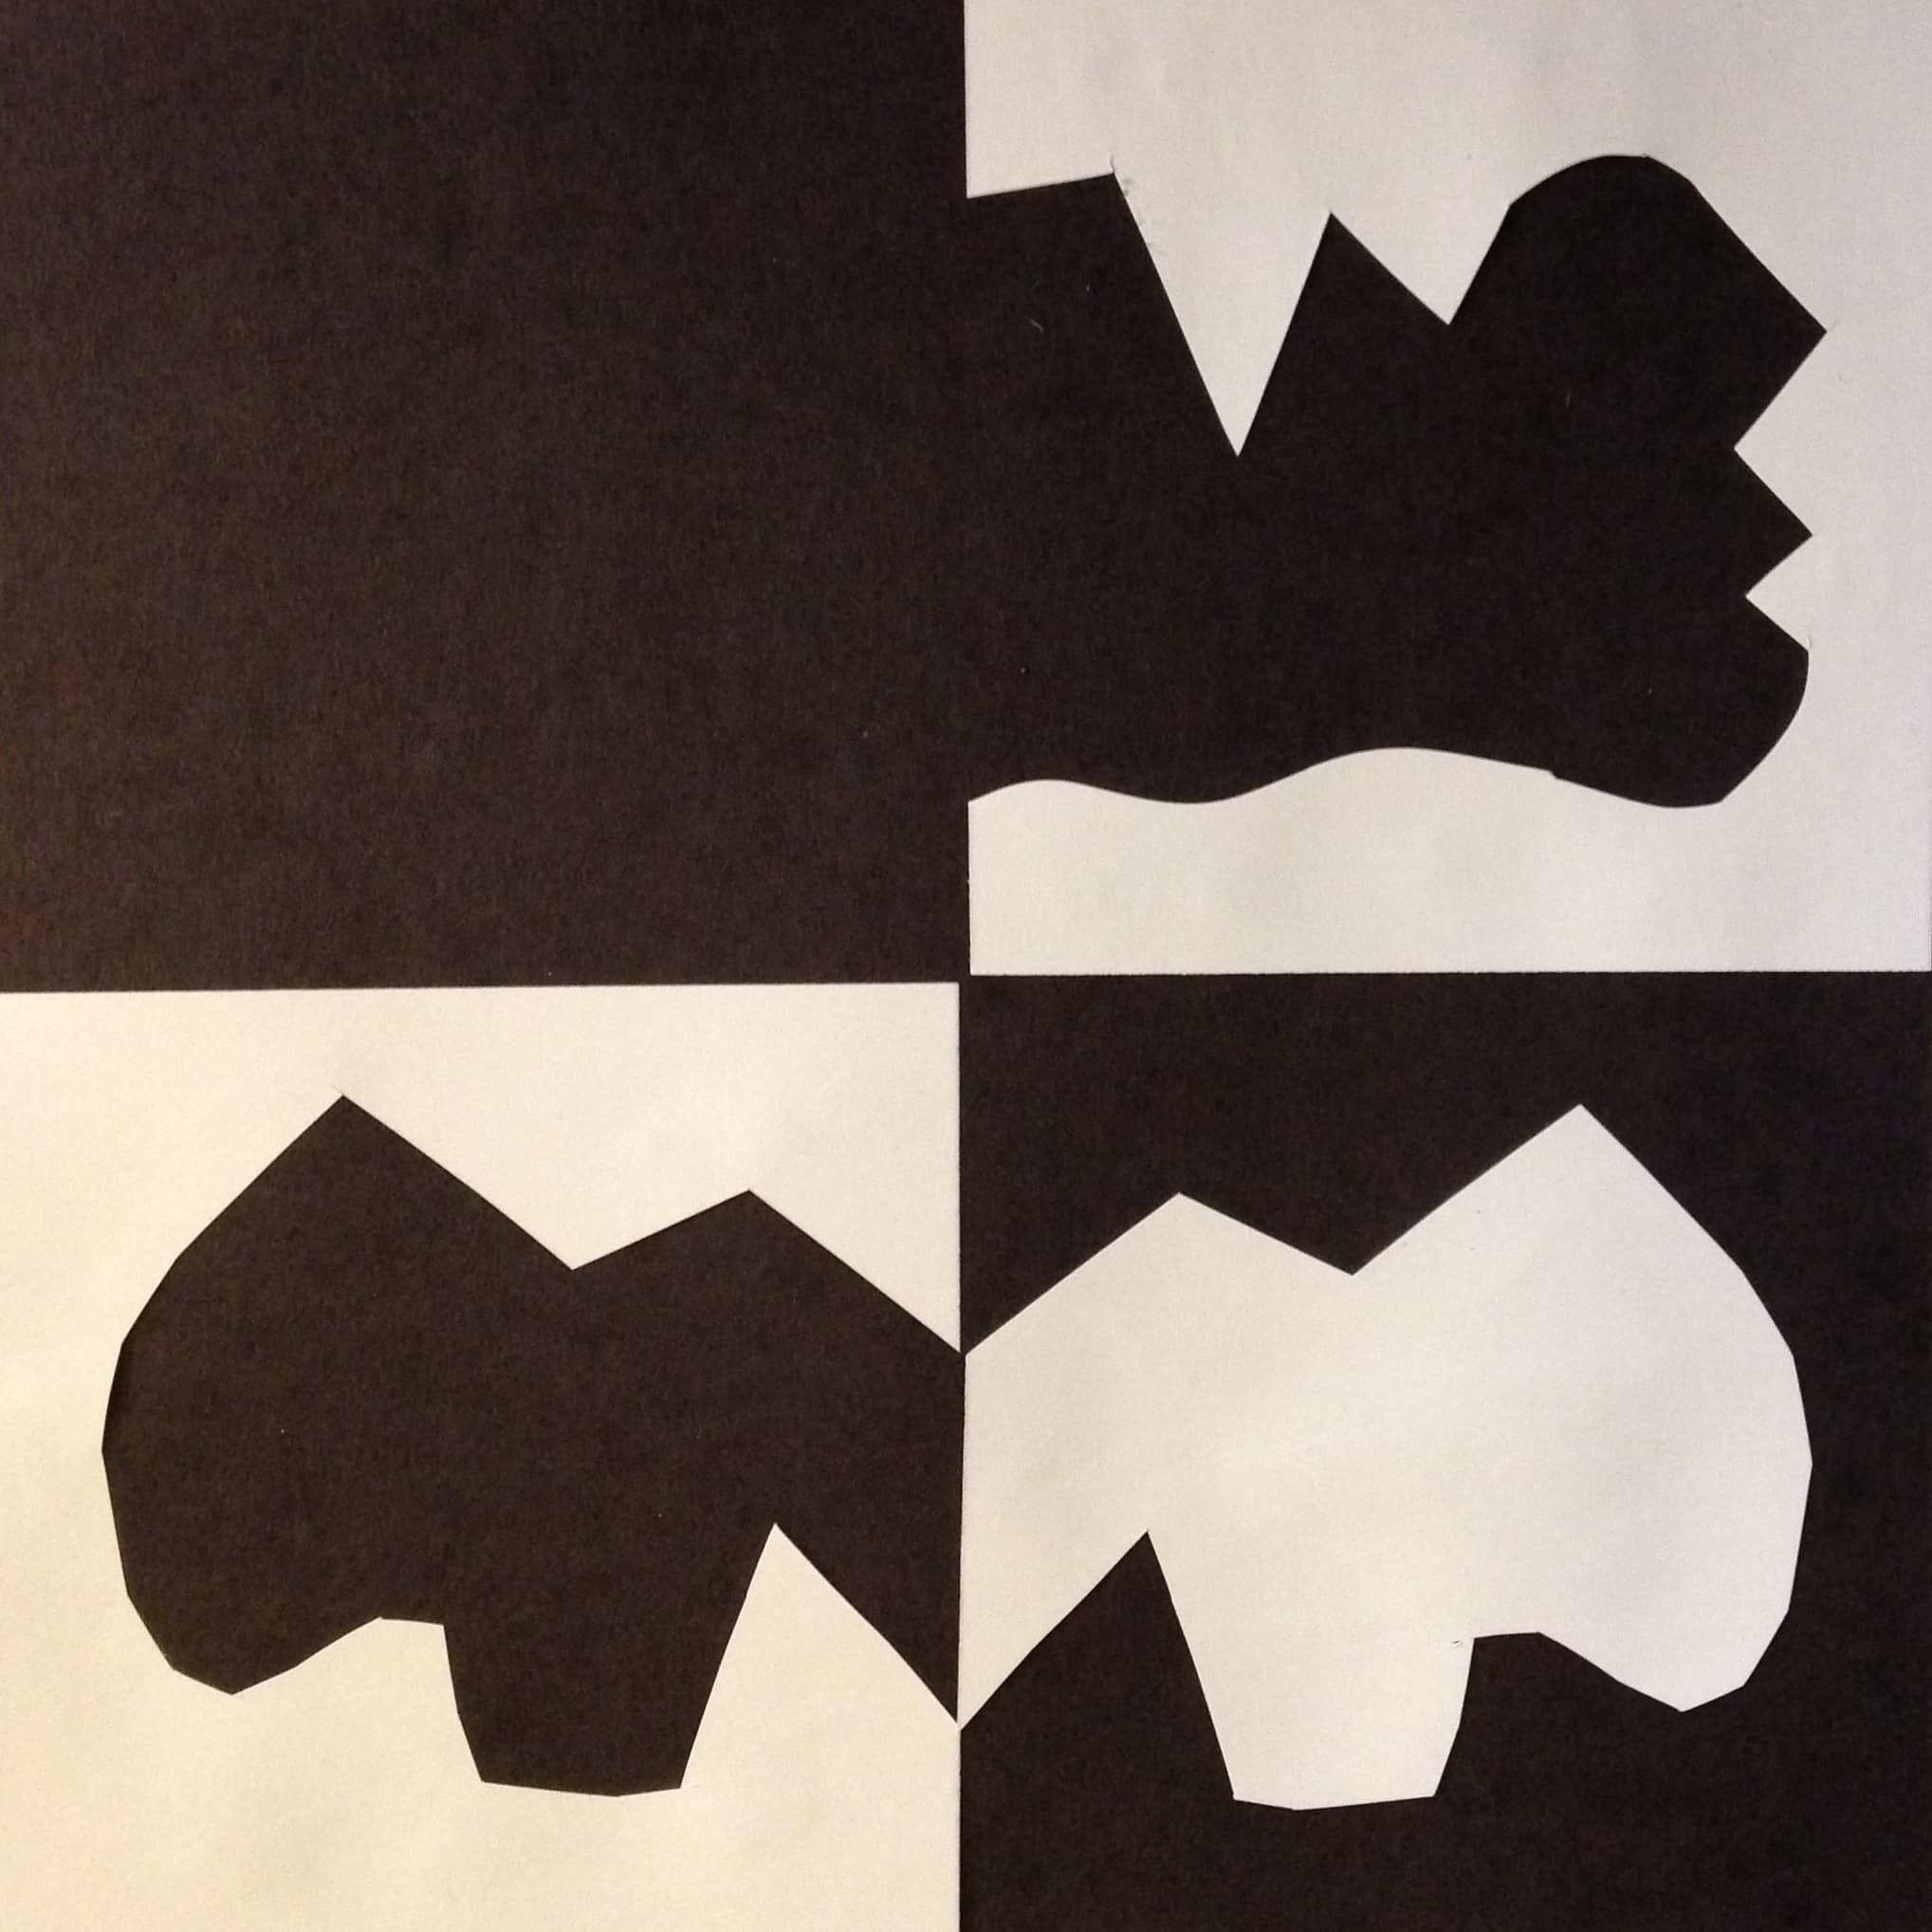
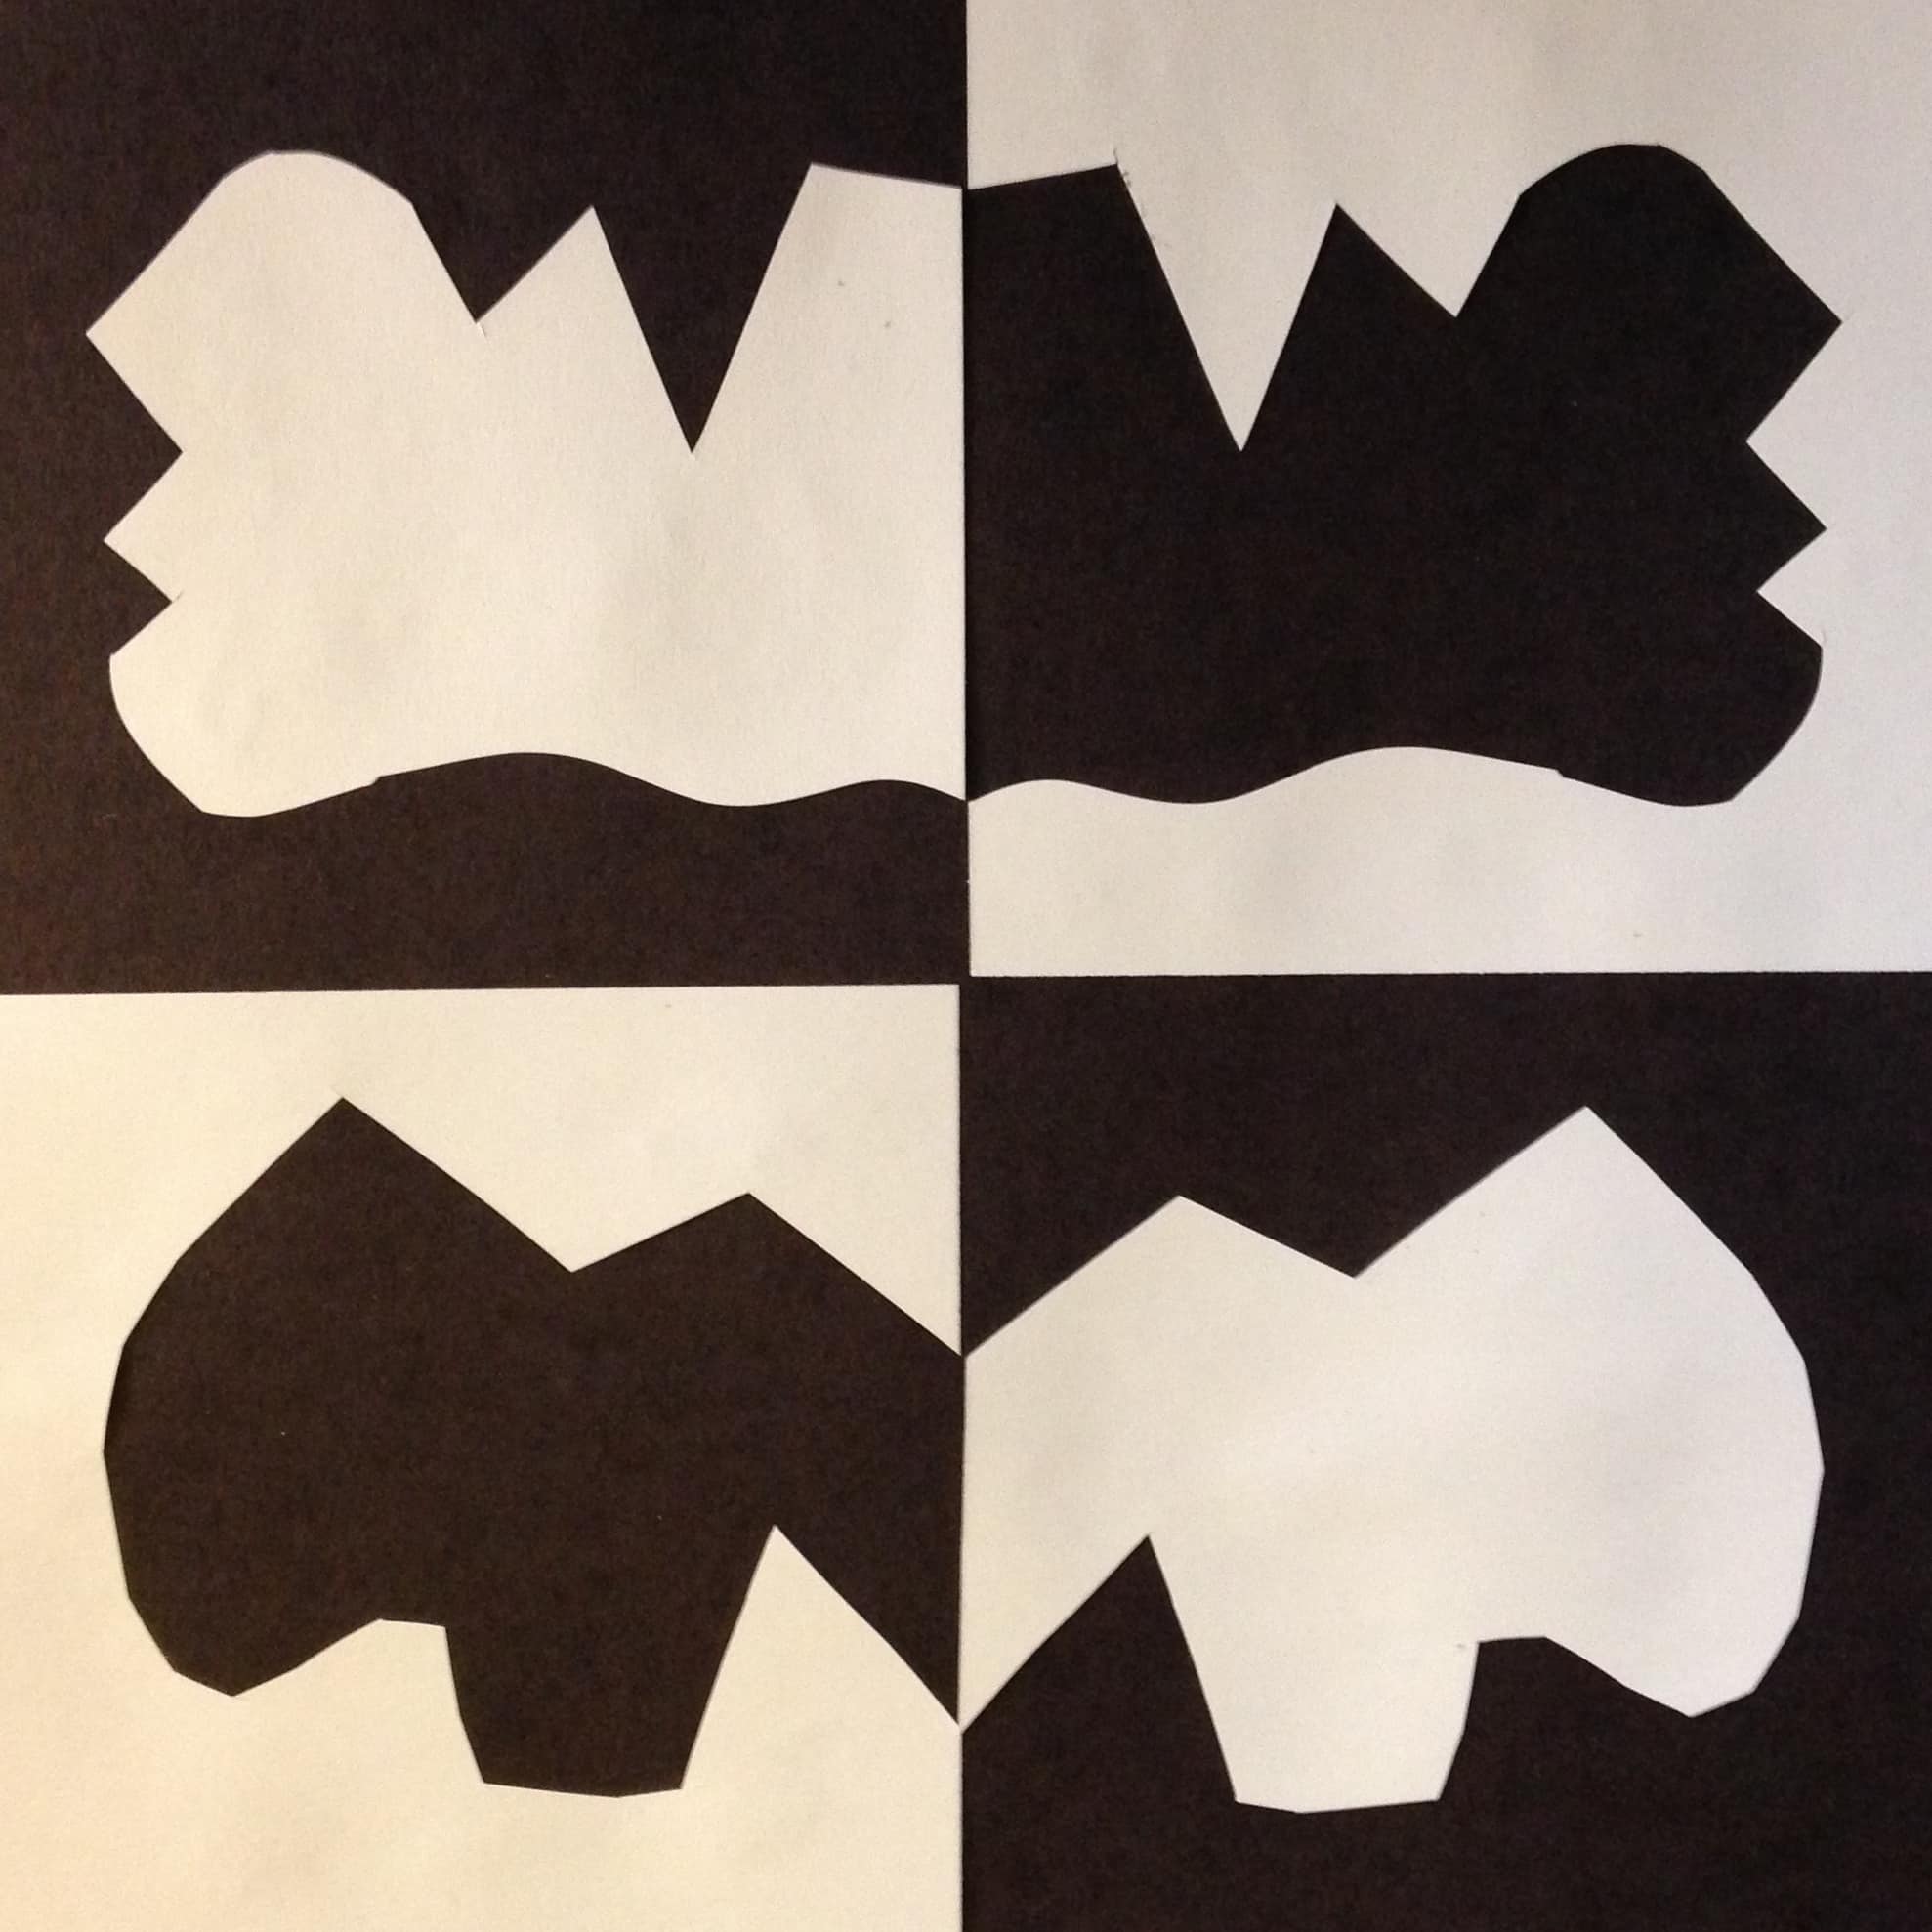
1. Cut a single shape out of one of your white squares. It’s important that you begin and end on the same side, leaving 3 of the edges un-cut. You now have a positive shape and a negative shape. Make sure you cut only one shape from your white square!2. Glue the paper with the negative shape onto your black background paper, matching two of the straight, un-cut edges of the white paper to one of the corners of the black paper. (A general rule is to always apply glue to the smaller piece of paper, so in this case it’s the white paper, not the black!)3. Lay your cut-out shape back into the paper it was cut from. It will only fit one way. If you have trouble making it fit, try turning it over!4. With your shape still laying inside of it’s cut-out area, put some glue on the side of it that’s facing up.5. Now, flip it over (just like swinging open a door on a hinge) and press it down on the black paper, directly across from its negative shape.6. Cut another single shape out of your second white square. Remember…. begin and end on the same side, and cut only one shape!7. Glue this negative shape onto the corner diagonal from the other negative shape (like a checkerboard), again matching the un-cut edges to the edges of the black paper. Make sure there’s room for the positive shape across from it.8. Lay the cut-out shape (or positive shape) back into the paper it was cut from, just like you did before. Put some glue on top.9. Now, flip this shape over and press it down across from its negative shape.
 Are you looking for an easy project that will give your youngest students more practice with scissors? This very basic Japanese Notan lesson is perfect for working on cutting and gluing skills, and kids will love the striking designs they create! Notan is a type of Japanese art that uses the contrast of light and dark to make an eye-catching composition. (Pronounce it just like it looks: ‘no-tan’.)


One Comment