How to Mix More Interesting Greens

Follow these steps to mix more interesting greens…
Materials:
- 9×12 white construction paper or watercolor paper
- Watercolor set (I like the Prang OVL-8 set)
- Watercolor brush (#8 – #12 round is good)
- Water and container
Directions:
First, help kids “see”
1. The first step is to help kids “see like artists” by recognizing the vast array of greens that are all around us in nature. Bring in plant and leaf samples, take a nature walk, examine the work of famous Plein Air painters like Claude Monet, or simply look out the window! Point out the subtle and not-so-subtle variations in the variety of greens that most people (not just kids!) may otherwise overlook. The photo below is one example of the variety of greens you’ll find in nature:
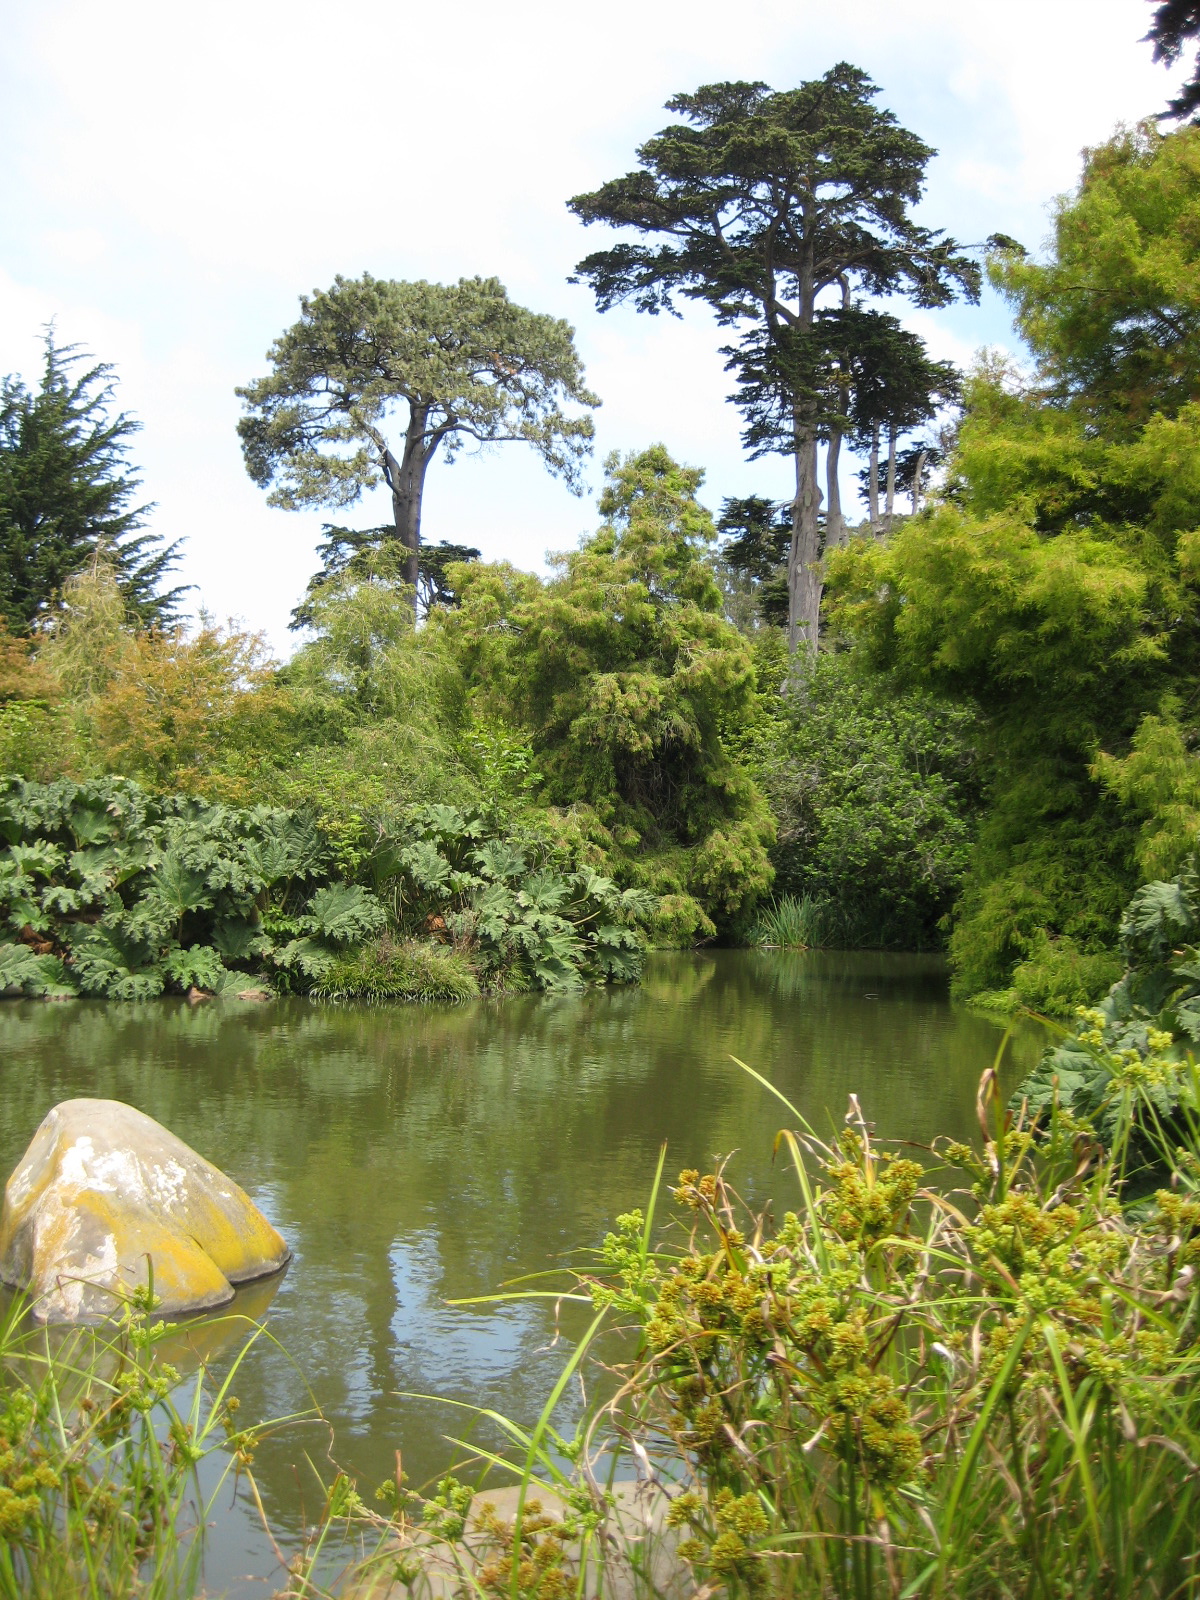 |
| Imagine if you used only the green in your paint set to paint this picture! |
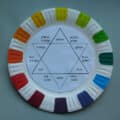
Next, show them the color wheel
Then, let them experiment with paint

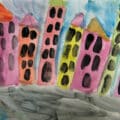
Now, use those new skills in a painting
Finally, protect your paint sets by teaching proper clean-up
All this color mixing can leave paint sets looking a little “worse for the wear”. Paint sets need to be properly cleaned to be ready for the next students who receive them. Imagine how discouraging it would feel to open your paint set, ready to paint, and find a dirty, sticky mess. A student shouldn’t need to clean their paint set in order to use it!
When students learn that cleaning up is an essential part of the painting process, it becomes a healthy habit. You don’t just close the lid and walk away when class is over. Students are happy to comply once they understand this process ensures they will get a clean set next time, too!
Cleaning their watercolor set is no big deal once students know what they’re expected to do. You can read the do’s and don’ts of my simple and effective watercolor clean-up process here and here.


It is very hard to limit yourself to one color. However, art paired with my love of plants and ecosystems make this a very exciting possiblity. I loved the color swatches! I also added you to my homepage for future inspiration to the up coming school year. Thanks
What a simple, great idea! Thanks!
That's a really genuine way of letting kids “see like an artist”! Very inspiring and easy to implement to your own set of kids :-)
I took this and brought it into a color mixing lesson. It was a lot of fun. Thank you for the great idea.
I love this simple way to encourage students to go beyond the standard color. My problem with over 500 kids using the same paint sets is keeping the colors clean after encouraging mixing. For this reason I generally encourage mixing when using liquid tempera paint but not so much with the water color sets. How have others solved the problem of keeping sets clean but encouraging mixing? I find the light colors quickly get ruined from mixing.
Thanks so much for your comment and question! I should have linked to my clean-up process in this post, so I just went back in and added 2 links for that at the end. Cleaning up after painting is so important! Kids need to be taught how to do this so every paint set is getting cleaned properly every time. No one should ever have to start their painting time by cleaning someone else’s mess. My clean-up process is quick and easy and the kids really don’t mind doing it when they know that it means they’ll get a clean paint set next time, too! Thanks again so much for your question!