Abstract Design with Markers
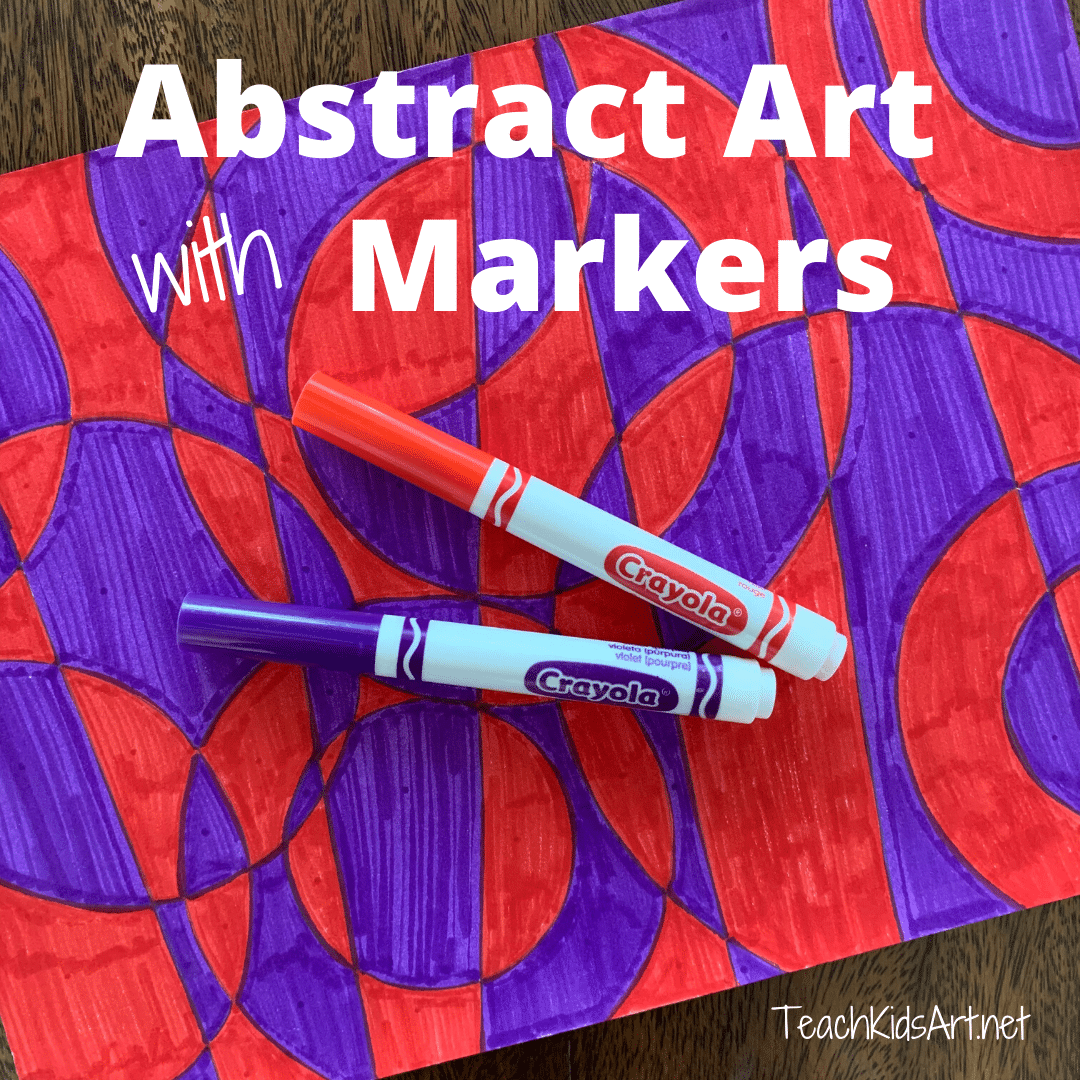 Kids will learn about art history, abstract art, and alternating patterns with this fun project inspired by the art of Robert and Sonia Delaunay. All you need is a pencil, a ruler, a marker or two, and some plastic lids or other circle templates to trace around. Making these cool patterns is easier than it looks and kids will be so proud of the unique designs they create!
1. With your paper laid horizontally in front of you, draw 6 straight lines (in pencil) from top to bottom, vertically or diagonally, but not crossing each other.
2. Next, draw circles over these lines, overlapping each other and sometimes going right off the page. (We used plastic lids recycled from yogurt and sour cream containers, etc., but you could also use a compass to draw your circles.) Focus on creating interesting shapes and a balanced composition, but avoid creating shapes that are really small.
3. Now choose two markers with contrasting colors (or one color plus white) and color your design in an alternating pattern. Working vertically, color one “column” at a time. Begin with the shape in the top left corner and work your way down the first column, alternating your colors as you go. When your first column is complete, move on to the next one, making sure to alternate your colors from left to right as well as top to bottom, so that matching colors only touch at the corners! Work from top to bottom, left to right, one column at a time until your design is completely colored in.
You can also try this project with other shapes in addition to circles, just make sure you start by creating your vertical “columns” first! The biggest challenge with this project is to avoid having any two shapes with the same color touch each other, other than at their corners. The trick is to color methodically, working top to bottom and left to right, one “column” at a time! Sometimes placing a small dot of the appropriate color in each section before filling in the whole area can help to avoid “accidents”!


“Rhythm, Joy de Vivre” by Robert Delaunay
and “Rythme Colour I” by Sonia Delaunay


so lovely and so easy:-) This would make a cool dads day gift.