Kandinsky for Kinders Dot Day Art Project

Materials:
- 12×12 white heavyweight construction paper (or any size square)
- Tempera paint: red, yellow, turquoise, white, black
- Water and containers
- Brushes
- Paper plates for palettes
- Paper towels
Directions:
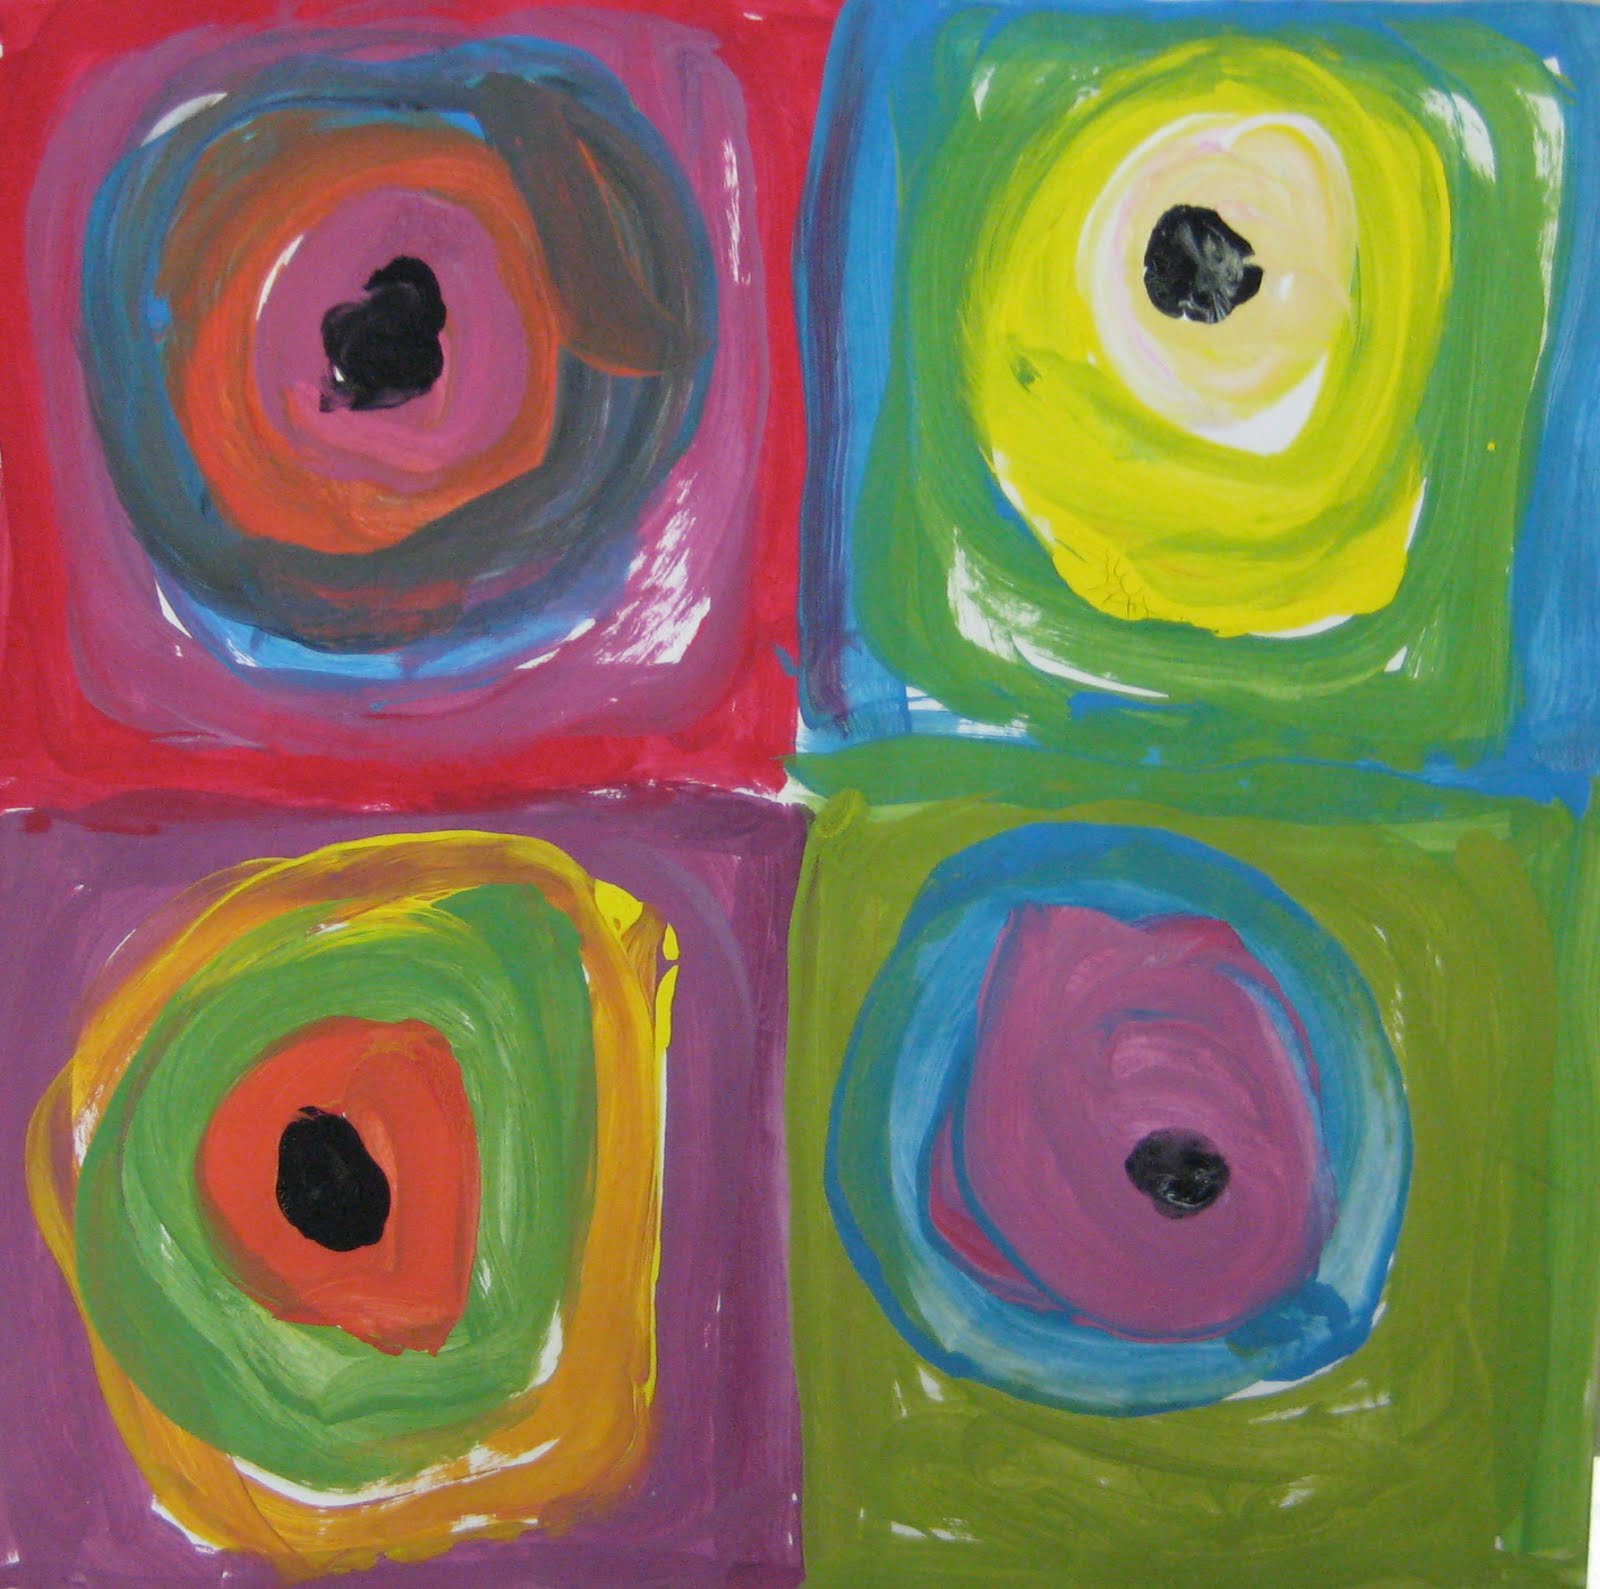
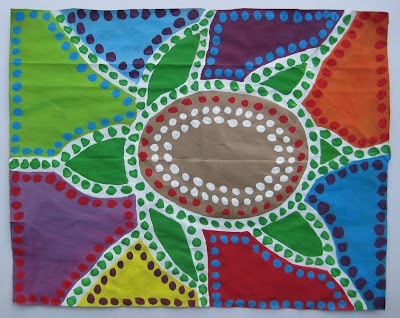
1. For painting a group of 4 “dots” (see below), fold a 12×12 paper in half, then in half again so you have 4 equal squares. For painting individual dots, you can use any size square paper, but it should be at least 6×6 for best results. Then paint as many individual dots as you have time for!
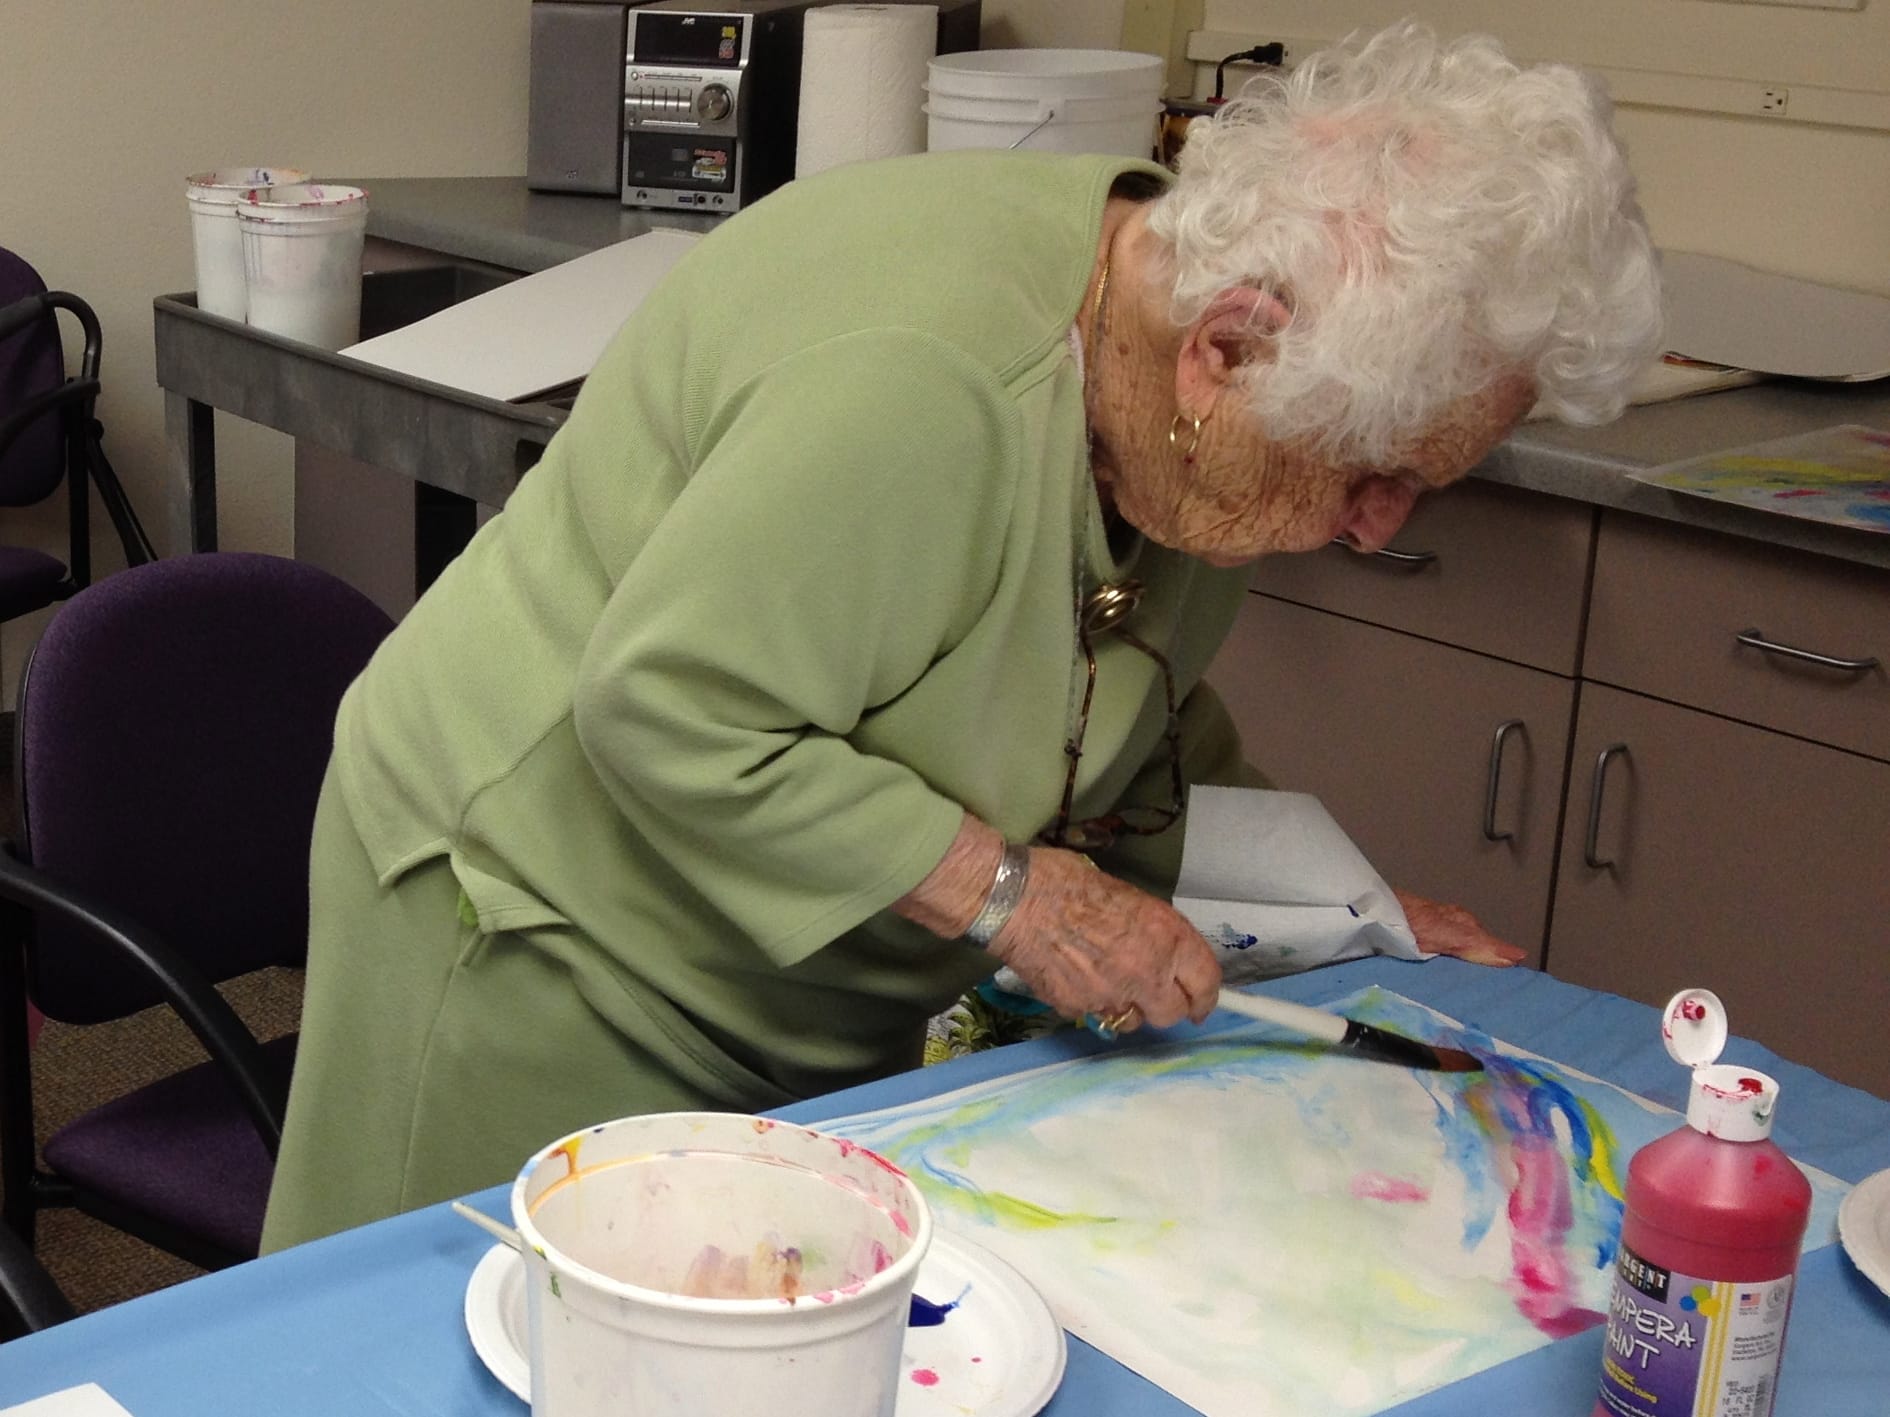
2. Turn on some music to simulate how Kandinsky would listen to music while he painted.
3. Start by painting the perimeter of a square, rounding the inside corners and leaving a white (unpainted) circle inside. Your goal with this project is to mix as many different colors as possible, so keep that in mind as you work.
4. Now, paint four or five concentric circles (it’s okay if they’re not perfect circles!) inside your square.
5. Keep mixing new colors, trying not to use the same color in more than one spot. Use all five of your paint colors to mix secondary and intermediate colors, tints, and shades. It can be fun to let your colors mix on your paper as you paint. Just be careful not to overdo it or you’ll end up with a single shade of brown!
(Try to rinse your brush only when necessary – you don’t have to rinse it with every color change. After rinsing, dab your brush on a paper towel to remove any excess water.)
6. Continue painting one square at a time in this same way. Keep painting circles until there is no white paper left showing!


Great job!
My kids did the same thing lately at their school. And the school filled with this colorful art was really very nice.
I love using Kandinsky's paintings as a reference to teach colors and lines.
How many class periods did this take you?
Hi Jackie – This project took just one 50 minute period, as do most of my lessons for Kinders!
Hi Jackie,
How would you modify this lesson for Grade 4 -6? I have a Girl Guides Unit that I would be doing this with. Thanks so much for your help.
Michelle, when I do this lesson with my 5th graders, I use 12×18 paper and divide it into 12 squares. It usually takes them 2 – 50 minute sessions to complete the project. ~ Cheryl :-)
Hi Cheryl,
Thanks for sharing.
Could you make a Kinder lesson inspired by Aelita Andre, please? I am trying to tie different curricular areas on my topic and I find this little artist to be a good fit. I am hoping learning about an artist their age will inspire them to engage more on art, experiment and think outside the box.
Thanks, Ellie :)
Thanks for your comment, Ellie! I wasn’t familiar with this artist, so I googled her and discovered how fascinating she is! http://www.aelitaandre.com/#!about/c10fk I would love to create a lesson inspired by her. Thanks for suggesting it…. stay tuned!